A simple Guide on How to Clean Your Vape Tanks, Atomizers and Coils
Today’s vaper has an endless variety of vapes to choose from to optimize – and customize – their experience. However, no matter which device you choose, the most important thing that you can do to ensure that your vape performs at its best is to keep your coil clean and well-maintained.
Your vape will naturally become dirty over time because of a buildup of your e-liquid, and this residue will affect your vape’s performance and flavour. You can mitigate these issues somewhat by simply changing the coil, but the flavour of the last e-juice you used can still linger, especially stronger flavours like coffee, cinnamon, tobacco, menthol, and licorice. These lingering flavours can interact poorly with each other (and your new liquid) on the palate and ruin a good vaping experience.
While e-juice is the biggest culprit of a dirty coil, it’s far from the only issue. Even new tanks and atomizers can be compromised in terms of flavour and performance, often because of the machine oil used during the manufacturing process. These oils, along with your old vape juice, need to be cleaned out to provide you with the best vaping experience possible. Here’s how.
How to clean a vape tank
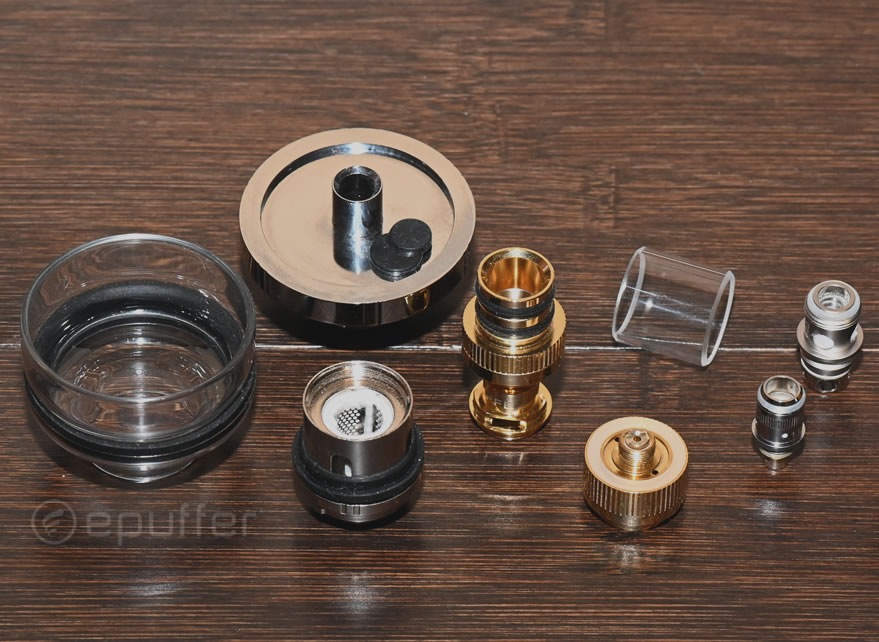
The first thing you’ll do is remove your coil and set it aside. Disassemble your tank into as many separate pieces as you can – this will allow you to clean each component and help your tank dry much faster. Here are some of the way that you can clean these components:
- Routine rinse. If you don’t see any signs of buildup or gunk and are just doing a routine clean, a simple rinse under warm running water can do wonders. Dry each piece with a paper towel and set aside until completely dry.
- Hot water technique. If it’s been a while since you cleaned your tank and you need a more thorough clean, try heating some water on the stove and placing your rinsed components into the hot water. This will help remove any built-up VG, as well as any machine oil that may be on your device. Again, dry the pieces thoroughly.
- PG rinse. If your tank appears clean but carries the flavour of your last vape juice, the PG rinse may be effective. Soak your tank components in PG for an hour or two and then allow them to drip-dry on a paper towel before reassembling.
Finally, another method (and probably the most effective) of cleaning your tank is to use a cleaning agent and then rinse and dry. You may have heard of cleaning vape coils with vinegar, and you can also use vinegar to clean all the components of your tank. Or, you can use baking soda, ethanol, or even a cheap vodka – just be sure to rinse all of the cleaning agent off when you’re done.
Cleaning your vape coils
Cleaning coils is not the easiest thing in the world, but it’s necessary. There are two main types of coils, and it’s important to know which you have to clean them properly.
- Replaceable coils: You’ll generally find replaceable coils in sub-ohm tanks and clearomizers. You can clean them, but this will never get you the same results as simply replacing them. If you do decide to clean these to buy yourself a few extra days of life, try soaking in vinegar, rinsing under tap water, soaking again in distilled water, and letting dry completely.
- Rebuildable coils: Rebuildable coils can and should be cleaned regularly. This process is simple and quick. Remove the wicks and dry-burn them until they just begin to glow. Then, dip the coils into warm water or rinse them in running water and brush them lightly with a coil-cleaning tool or toothbrush. Repeat these steps until the coils look clean, then rinse again. Finish with another dry burn to ensure that there are no remaining droplets of water.
Keeping your tank clean is an important part of maintaining your vape, extending its life, and maximizing its performance. Follow these steps for the best possible vaping experience.

